
The Gooey Soft-Baked M&M Cookie Bars Recipe You’ll Adore
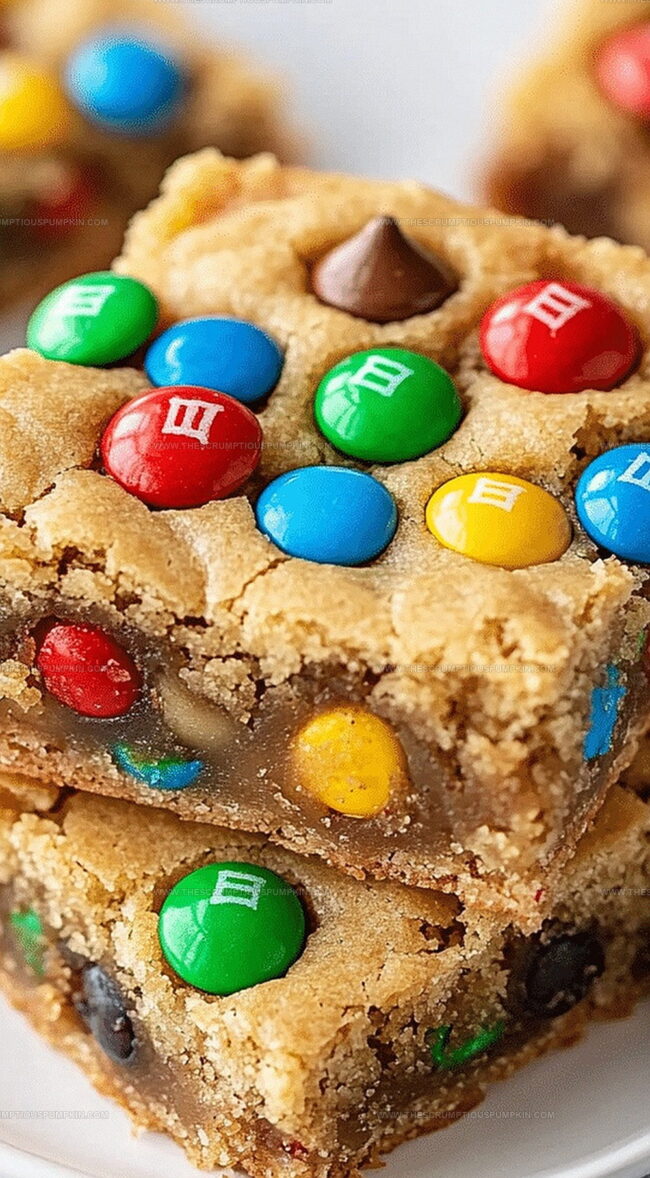
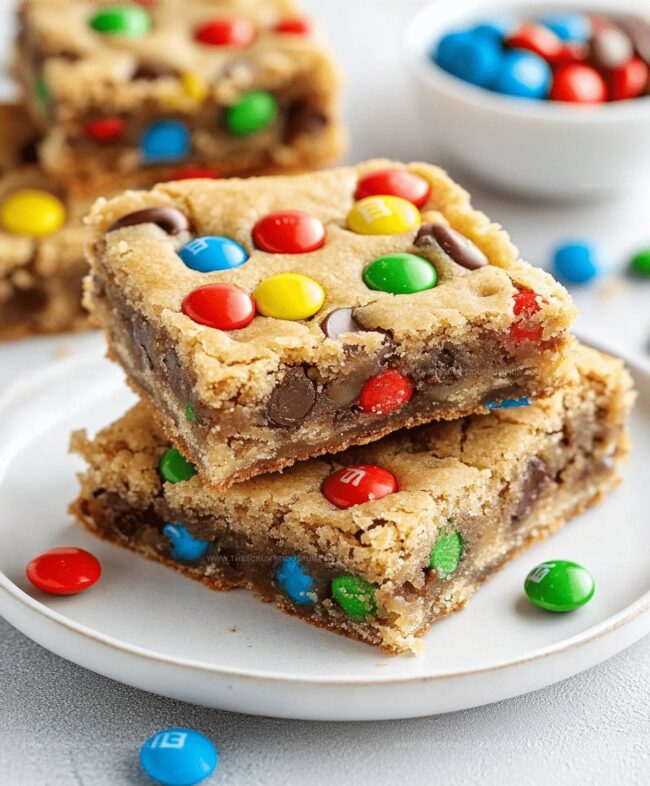
Soft-baked M&M cookie bars burst with childhood nostalgia and sweet memories.
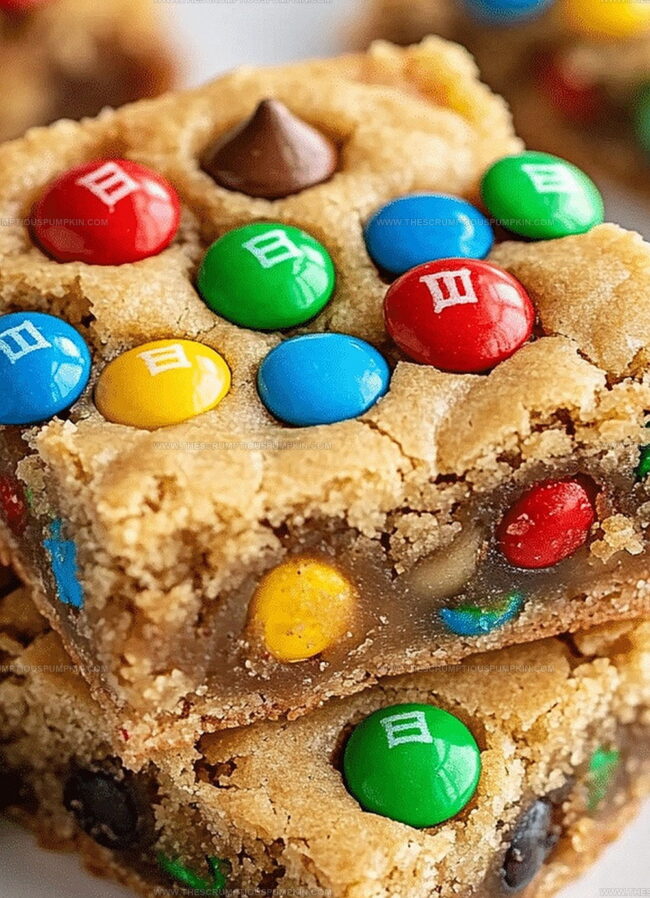
Colorful candies dot the creamy landscape like playful confetti.
Memories of after-school treats come flooding back with each chewy bite.
Baking these bars feels like wrapping yourself in a warm, sugary hug.
Quick and simple ingredients transform into a dessert that sparks joy.
Chocolate lovers will find themselves captivated by the irresistible blend of textures.
Grab a glass of cold milk and get ready to indulge in pure deliciousness.
Why Soft-baked M&m Cookie Bars Are Crowd Pleasers
Soft-baked M&m Cookie Bars Ingredients
Dry Ingredients:Wet Ingredients:Mix-In Ingredients:How to Make Soft-baked M&m Cookie Bars
Step 1: Warm Up the Oven
Fire up your oven to a toasty 350°F (175°C).
Grab a baking pan and give it a quick spray of cooking spray or line it with parchment paper for easy cleanup.
Step 2: Mix Dry Ingredients
Grab a mixing bowl and whisk together:Make sure everything is blended smoothly with no lumps.
Step 3: Cream Butter and Sugars
In a separate large bowl, beat together:Whip these ingredients until they become light and fluffy.
Crack in the eggs and splash of vanilla extract, then mix until everything is well combined.
Step 4: Combine Wet and Dry Ingredients
Slowly add the dry ingredient mixture into the wet ingredients.
Stir gently until just combined.
Don’t overmix!
Now fold in:Distribute them evenly throughout the dough.
Step 5: Prepare for Baking
Spread the cookie dough evenly into your prepared pan.
Use a spatula to create a smooth, even layer that reaches all the corners.
Step 6: Bake to Perfection
Slide the pan into the preheated oven.
Bake for 20-25 minutes.
Look for golden brown edges and a slightly soft center.
The bars will continue to set as they cool.
Step 7: Cool and Slice
Let the bars cool completely in the pan.
Once cooled, slice into squares.
Serve and enjoy the gooey, chocolatey goodness!
Pro Tips for Soft-baked M&m Cookie Bars
Variations of Soft-baked M&m Cookie Bars
Serving Soft-baked M&m Cookie Bars
Storing Soft-baked M&m Cookie Bars
FAQs
Yes, you can substitute M&Ms with chocolate chips, chopped candy bars, or other colorful candies like Reese’s Pieces.
No, this recipe doesn’t require chilling. You can mix and spread the dough directly into the pan for soft, chewy bars.
Look for golden brown edges and a slightly soft center. A toothpick inserted should come out with a few moist crumbs.
Yes, simply replace the all-purpose flour with a gluten-free flour blend that includes xanthan gum for best results.
Print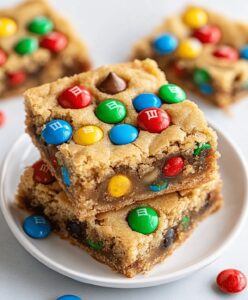
Soft-baked M&m Cookie Bars Recipe
- Total Time: 39 minutes
- Yield: 24 1x
Description
Indulgent M&M Cookie Bars deliver pure chocolate chip comfort with a colorful candy crunch. Sweet layers of buttery dough and melty candies create a nostalgic dessert that sparks childhood memories and delights cookie enthusiasts.
Ingredients
Main Ingredients:
- 2 1/4 cups all-purpose flour
- 1 teaspoon baking soda
- 1/2 teaspoon salt
Wet Ingredients:
- 1 cup unsalted butter
- 3/4 cup granulated sugar
- 3/4 cup brown sugar
- 2 large eggs
- 2 teaspoons vanilla extract
Additions:
- 1 cup M&M candies
- 1/2 cup chocolate chips (optional)
Instructions
- Prepare the oven at 350F (175C) and prepare a baking pan with non-stick spray or parchment paper.
- Combine flour, baking soda, and salt in a mixing bowl, whisking thoroughly to ensure even distribution.
- Using an electric mixer, cream together butter, granulated sugar, and brown sugar until light and fluffy, about 2-3 minutes.
- Incorporate eggs and vanilla extract into the butter mixture, blending until smooth and well integrated.
- Gradually fold dry ingredients into the wet mixture, stirring until just combined to prevent overmixing.
- Gently mix in M&Ms and chocolate chips, distributing them evenly throughout the dough.
- Transfer the cookie dough into the prepared pan, carefully spreading it to create an even layer with uniform thickness.
- Bake in the preheated oven for 22-24 minutes, watching for golden brown edges and a slightly soft center.
- Remove from oven and allow to cool completely in the pan for approximately 30 minutes.
- Cut into rectangular bars of desired size and serve at room temperature.
Notes
- Customize chocolate types by swapping M&Ms with different candies like Reese’s Pieces or chopped candy bars for unique flavor variations.
- Ensure soft texture by slightly underbaking the bars, removing them from the oven when centers look slightly soft and edges are golden brown.
- Create gluten-free version by substituting all-purpose flour with a 1:1 gluten-free baking blend, maintaining the same measurements and mixing technique.
- Prevent sticking by using parchment paper with overhang, allowing easy removal and clean slicing of cookie bars after cooling.
- Prep Time: 15 minutes
- Cook Time: 24 minutes
- Category: Desserts, Snacks
- Method: Baking
- Cuisine: American
Nutrition
- Serving Size: 24
- Calories: 160 kcal
- Sugar: 12 g
- Sodium: 90 mg
- Fat: 7 g
- Saturated Fat: 4 g
- Unsaturated Fat: 3 g
- Trans Fat: 0.1 g
- Carbohydrates: 22 g
- Fiber: 1 g
- Protein: 2 g
- Cholesterol: 20 mg
Lucas Bennett
Founder & Recipe Developer
Expertise
Education
Blue Ridge Community College – Certificate in Culinary Arts
Focused on seasonal cooking, sustainable kitchen practices, and farm-to-table techniques.
Appalachian State University – B.A. in English
Built critical thinking and analysis through diverse texts. Guided by faculty, it prepares graduates for publishing and more.
Growing up in the rolling hills of North Carolina, Lucas learned early that some of life’s best memories start around a kitchen table. After studying English at Appalachian State University and honing his culinary skills at Blue Ridge Community College, he dreamed of blending storytelling with rustic, seasonal cooking, and The Scrumptious Pumpkin was born.
Lucas focuses on easy, single-serving recipes that turn fresh, local ingredients into something special. His style is simple, heartfelt, and rooted in the beauty of the seasons. When he’s not testing a new dish, you’ll probably find him hiking in the Blue Ridge Mountains, browsing farmers’ markets, or scribbling food stories in a notebook.