The Cutest Sprinkle Cheesecake Cookie Cups Recipe for Sweet Smiles
Sweet dreams come alive with these delightful sprinkle cheesecake cookie cups that blend childhood nostalgia and grown-up indulgence.
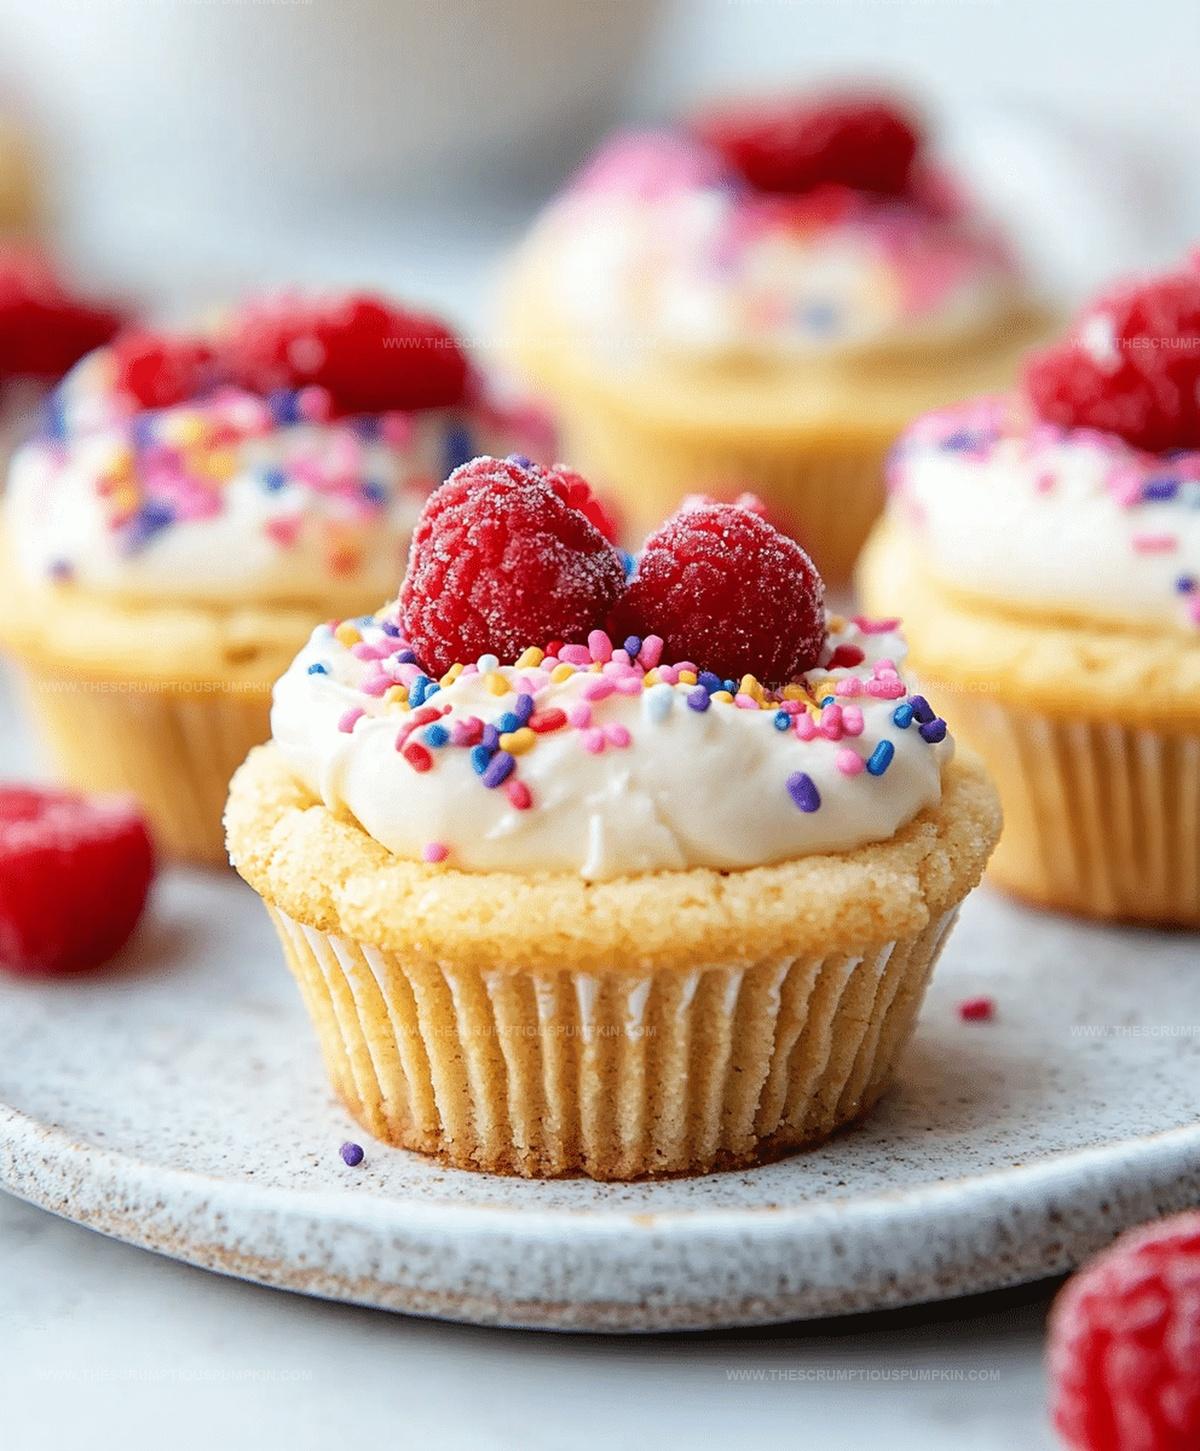
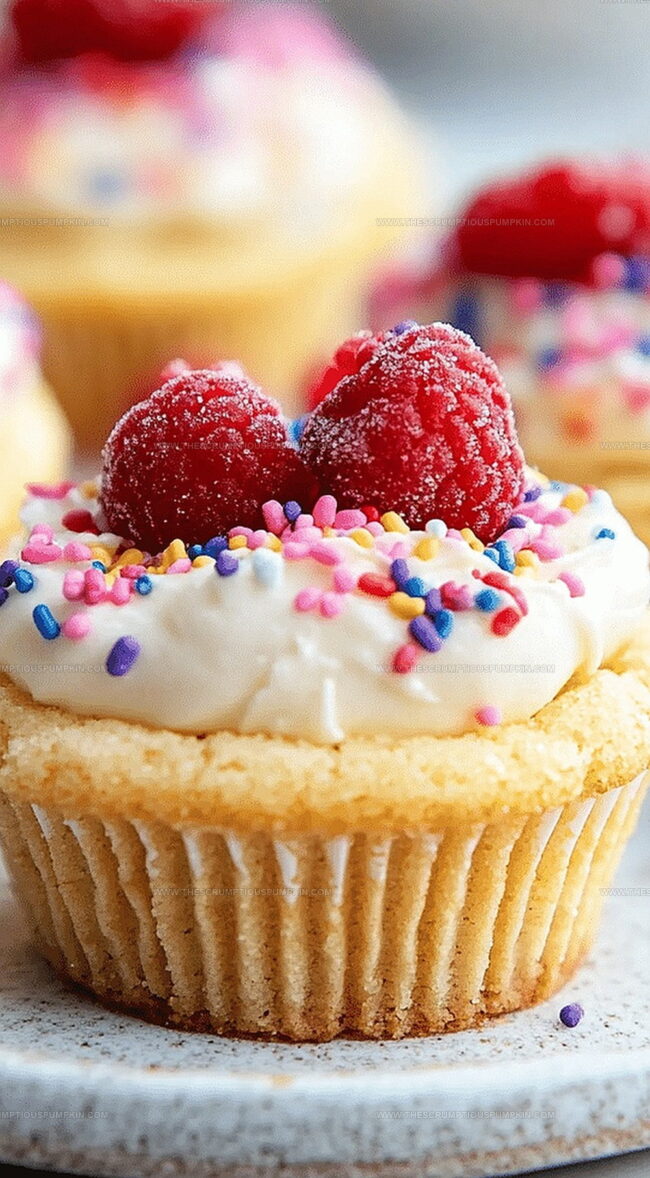
Colorful confetti sprinkles dance across creamy cheesecake nestled in crisp cookie shells.
Crafting these miniature desserts feels like hosting a playful party in your kitchen.
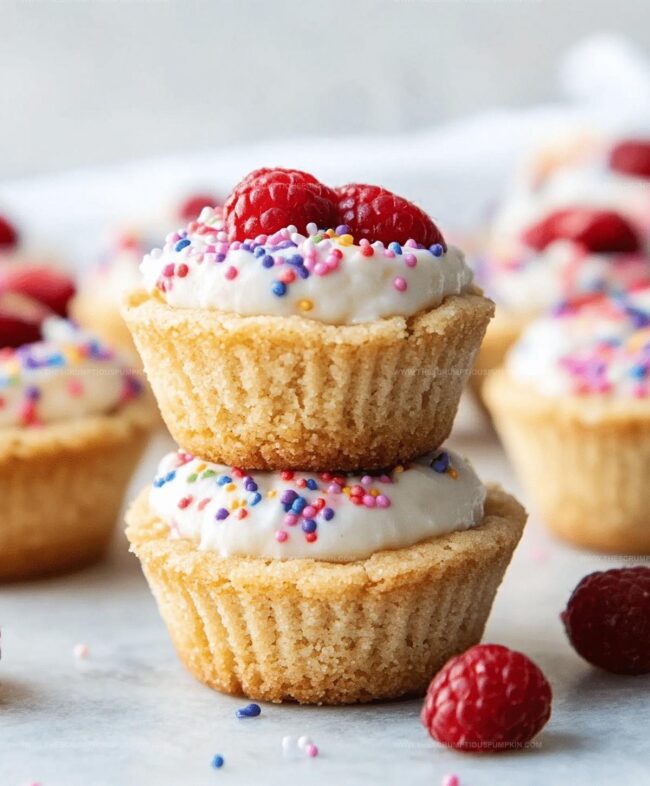
Mini treats pack maximum flavor with each bite-sized wonder.
Soft cream cheese mingles perfectly with buttery cookie bases, creating an irresistible contrast.
Guests will absolutely fall in love with these charming little desserts.
Your next gathering deserves something magical that sparks joy and delights every palate.
Why Sprinkle Cheesecake Cookie Cups Are Fun
Sprinkle Cheesecake Cookie Cups Ingredients
Base Ingredients:Sweeteners and Flavor Enhancers:Binding Ingredients:Decorative Topping:Additional Ingredients:How to Make Sprinkle Cheesecake Cookie Cups
Step 1: Warm Up The Oven
Get your oven toasty and ready by setting it to 350 degrees Fahrenheit or 175 degrees Celsius.
Step 2: Create Cookie Cups
Grab your favorite cookie dough and gently press small chunks into a well-greased muffin tin.
Shape each piece carefully to form little cup-like structures with slightly raised edges.
Step 3: Bake Initial Cookie Base
Pop the muffin tin into the preheated oven and bake these delicate cookie cups for 10-12 minutes.
Watch for a light golden color that signals they’re perfectly done.
Remove and allow them to cool completely.
Step 4: Whip Up Creamy Cheesecake Filling
In a mixing bowl, combine these ingredients:Blend everything together until the mixture becomes incredibly smooth and velvety.
Step 5: Fill Cookie Cups
Carefully spoon the luscious cheesecake mixture into each cooled cookie cup.
Distribute evenly to create beautiful, consistent treats.
Step 6: Final Baking Session
Return the filled cookie cups to the oven and bake for an additional 12-15 minutes.
The cheesecake should look set and slightly firm when done.
Step 7: Decorate And Chill
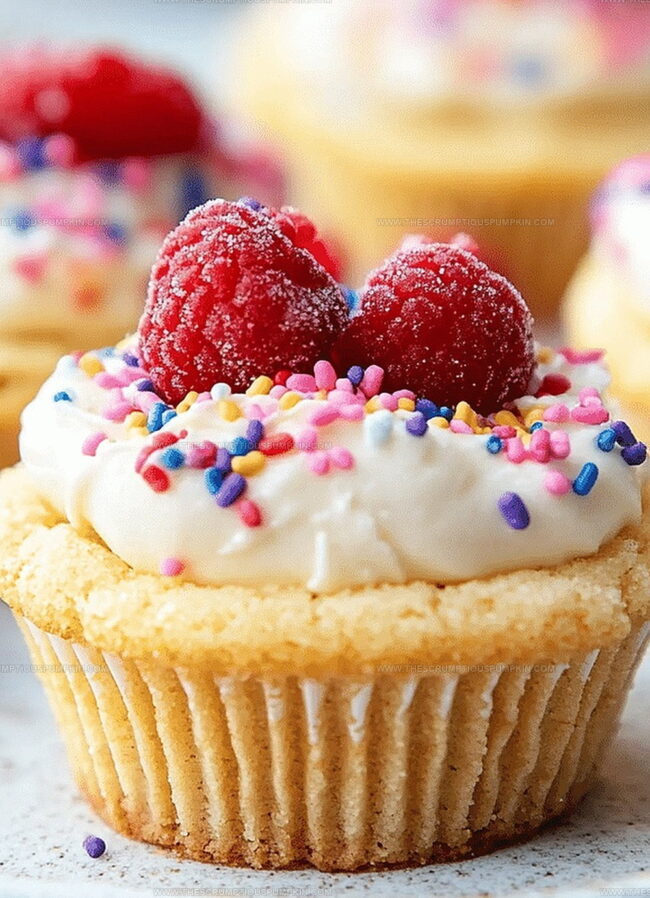
Once completely cooled, sprinkle colorful rainbow sprinkles over the top of each cookie cup.
Refrigerate until ready to serve for the best texture and flavor.
Pro Tips for Sprinkle Cheesecake Cookie Cups
Variations of Sprinkle Cheesecake Cookie Cups
Serving Sprinkle Cheesecake Cookie Cups
Storing Sprinkle Cheesecake Cookie Cups
FAQs
Yes, you can use your favorite homemade sugar cookie dough instead of store-bought. Just ensure it’s a sturdy enough dough to hold the cheesecake filling.
Generously grease the muffin tin with butter or cooking spray, or use silicone muffin liners for easy removal. This helps prevent the cookie cups from sticking.
Absolutely! You can prepare the cookie cups and cheesecake filling a day in advance. Assemble and bake them just before serving for the best texture and taste.
Print
Sprinkle Cheesecake Cookie Cups Recipe
- Total Time: 50 minutes
- Yield: 6 1x
Description
Indulgent sprinkle cheesecake cookie cups bring whimsical dessert magic to your table. Sweet cookie bases cradle creamy cheesecake filling, promising delightful moments of pure enjoyment for anyone craving a playful treat.
Ingredients
Main Ingredients:
- 1 cup sugar cookie dough
- 8 ounces (226 grams) cream cheese, softened
- 1 egg
Sweeteners:
- 1/4 cup granulated sugar
Flavoring and Garnish:
- 1/2 teaspoon vanilla extract
- Sprinkles for topping
Instructions
- Heat the oven to 350°F (175°C), ensuring a consistent temperature for even baking.
- Gently press cookie dough into each cavity of a greased muffin tin, creating uniform cup-like shells with thin, even walls.
- Bake cookie cups for 10-12 minutes until edges turn a delicate golden hue, developing a crisp texture.
- Allow cookie cups to cool completely at room temperature, which helps maintain their structural integrity.
- Whisk cream cheese, sugar, vanilla, and egg in a mixing bowl until the mixture transforms into a silky, lump-free consistency.
- Carefully spoon the creamy cheesecake filling into each cooled cookie cup, distributing evenly to the edges.
- Return filled cups to the oven and bake for an additional 12-15 minutes, watching for a slight firmness in the center indicating proper setting.
- Remove from oven and let cool to room temperature, which helps the cheesecake maintain its shape.
- Generously scatter colorful sprinkles across the top of each cheesecake cookie cup for a playful, festive finish.
- Refrigerate for at least one hour before serving to enhance flavor and achieve a chilled, creamy texture.
Notes
- Ensure cookie dough is chilled before pressing into muffin tin for cleaner, more defined cup shapes.
- Use an offset spatula or back of a spoon to create even cookie cup bases with smooth sides.
- For a gluten-free version, swap regular cookie dough with gluten-free sugar cookie mix or almond flour-based dough.
- Prevent cheesecake cracking by avoiding over-mixing and allowing gradual cooling at room temperature before refrigerating.
- Prep Time: 20 minutes
- Cook Time: 30 minutes
- Category: Desserts, Snacks
- Method: Baking
- Cuisine: American
Nutrition
- Serving Size: 6
- Calories: 289 kcal
- Sugar: 19 g
- Sodium: 153 mg
- Fat: 18 g
- Saturated Fat: 10 g
- Unsaturated Fat: 6 g
- Trans Fat: 0.5 g
- Carbohydrates: 26 g
- Fiber: 0.2 g
- Protein: 4 g
- Cholesterol: 62 mg
Lucas Bennett
Founder & Recipe Developer
Expertise
Education
Blue Ridge Community College – Certificate in Culinary Arts
Focused on seasonal cooking, sustainable kitchen practices, and farm-to-table techniques.
Appalachian State University – B.A. in English
Built critical thinking and analysis through diverse texts. Guided by faculty, it prepares graduates for publishing and more.
Growing up in the rolling hills of North Carolina, Lucas learned early that some of life’s best memories start around a kitchen table. After studying English at Appalachian State University and honing his culinary skills at Blue Ridge Community College, he dreamed of blending storytelling with rustic, seasonal cooking, and The Scrumptious Pumpkin was born.
Lucas focuses on easy, single-serving recipes that turn fresh, local ingredients into something special. His style is simple, heartfelt, and rooted in the beauty of the seasons. When he’s not testing a new dish, you’ll probably find him hiking in the Blue Ridge Mountains, browsing farmers’ markets, or scribbling food stories in a notebook.