Homemade Butterfinger Balls Recipe: Sweet Treats in a Snap
Crafting delightful butterfinger balls brings pure magic to your dessert game.
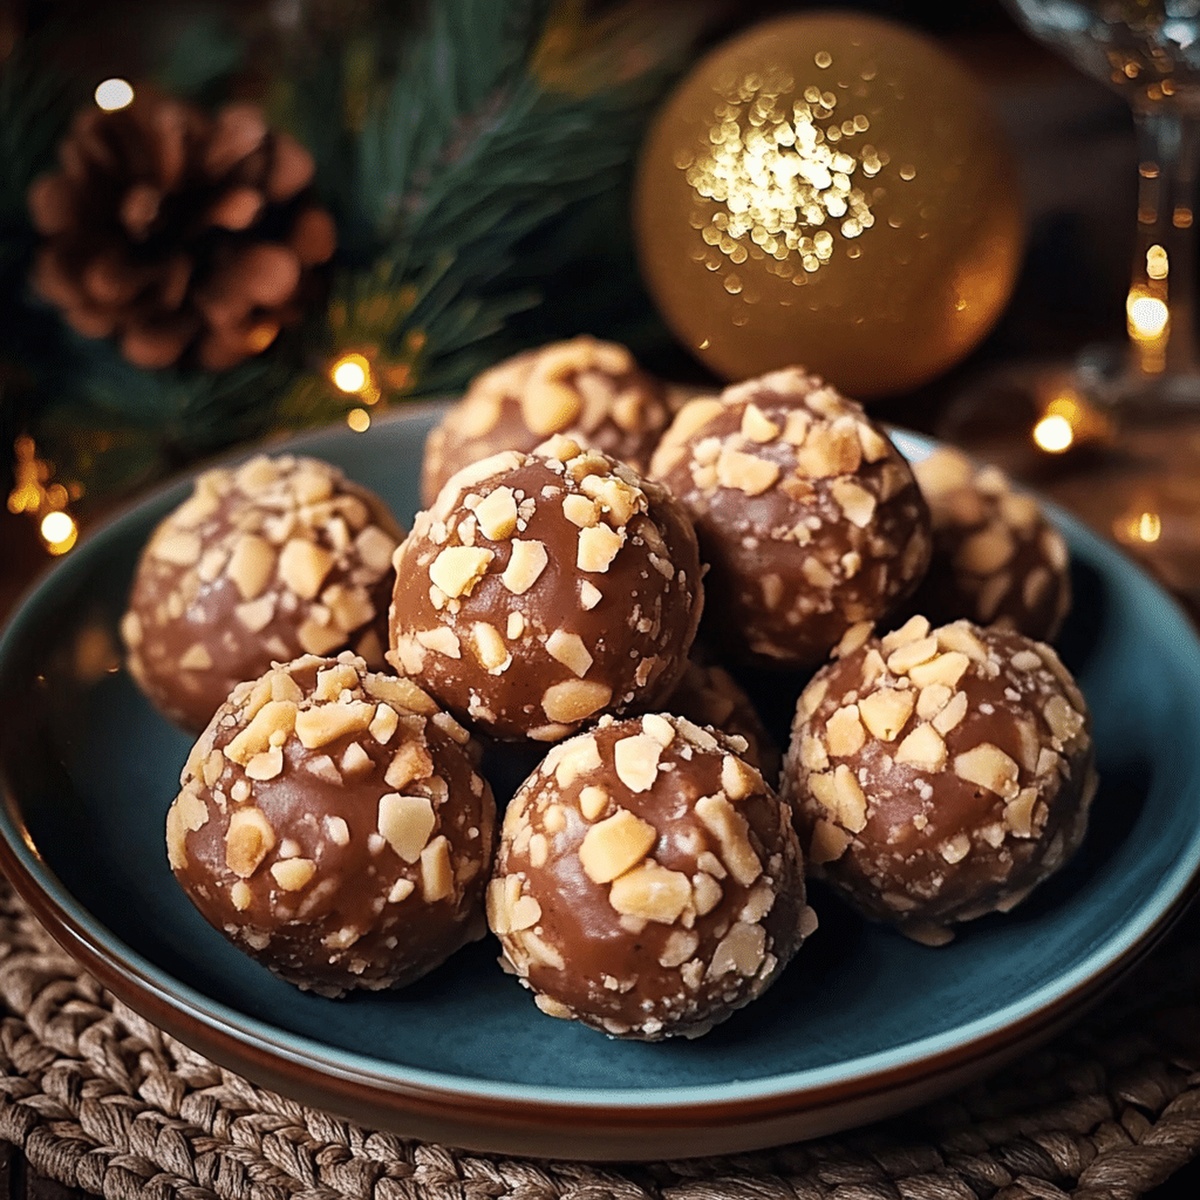
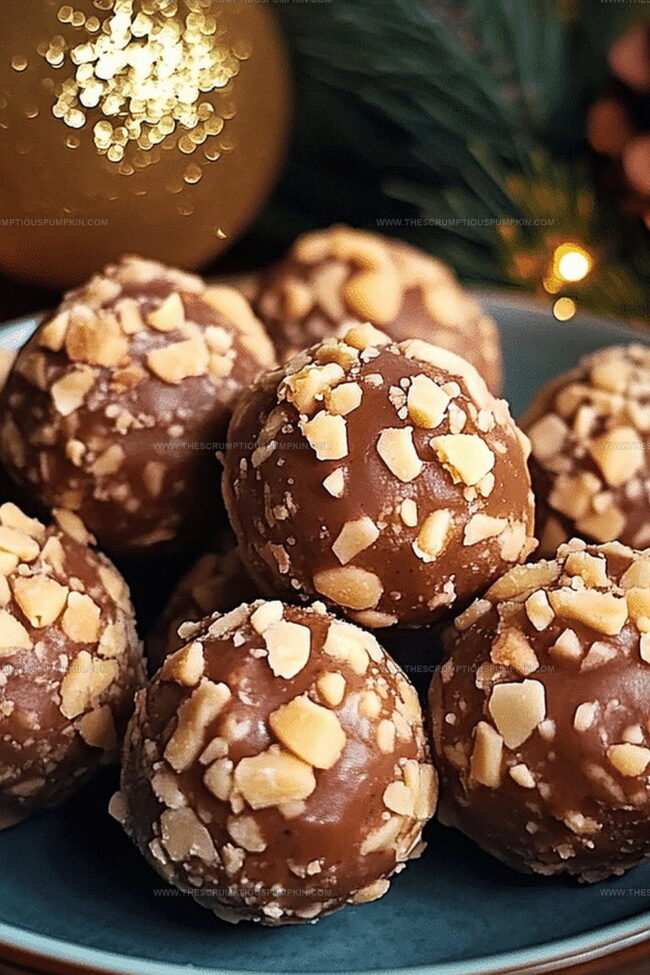
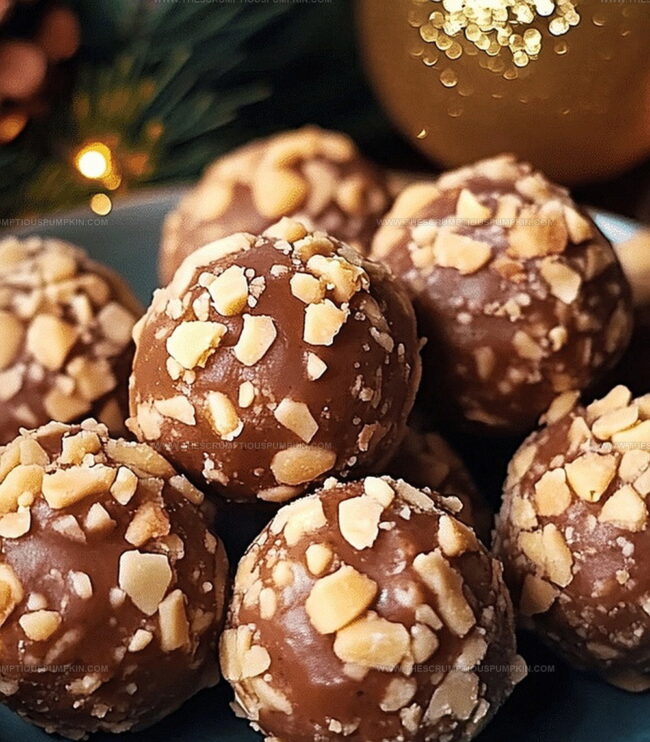
Sweet chocolate and crispy candy bars combine in an irresistible treat.
Crunchy peanut butter centers create an unexpected flavor explosion.
Every bite promises pure indulgence without complicated steps.
Homemade confections always taste better than store-bought versions.
Minimal ingredients and simple techniques mean anyone can nail this recipe.
Prepare to wow everyone with these addictive little spheres of deliciousness.
Why Butterfinger Balls Are A Sweet Crunchy Treat
Ingredients For Butterfinger Balls
For the Base:For the Mix-Ins:For the Coating:How To Make Butterfinger Balls Easily
Step 1: Lay Out Baking Surface
Spread parchment paper on a baking sheet to create a smooth landing spot for your delectable treats.
Step 2: Whip Cream Cheese
Take cream cheese and beat it until silky and luxuriously smooth in a spacious mixing bowl.
Step 3: Blend Sweet Elements
Combine the ingredients:Stir into cream cheese mixture until completely blended with zero lumps.
Step 4: Incorporate Candy Crunch
Gently fold crushed Butterfinger bars throughout the creamy base, ensuring even distribution of sweet, crunchy goodness.
Step 5: Enhance Flavor Profile
Sprinkle a tiny pinch of salt to elevate the overall taste experience, mixing thoroughly.
Step 6: Chill and Firm
Refrigerate the mixture for half an hour, allowing it to solidify and become easier to handle.
Step 7: Shape Delightful Bites
Using clean hands, roll the chilled mixture into compact, perfectly rounded balls and place them on the prepared baking sheet.
Step 8: Second Cooling Period
Return the formed balls to the refrigerator for 15 minutes to maintain their perfect shape.
Step 9: Prepare Chocolate Coating
Melt chocolate chips and vegetable shortening in a microwave-safe bowl, stirring every 30 seconds until completely smooth and glossy.
Step 10: Dunk and Cover
Carefully submerge each chilled ball into the melted chocolate, ensuring full coverage. Use a fork to remove excess coating.
Step 11: Set Chocolate Shell
Place chocolate-coated balls back on the parchment-lined sheet, allowing excess chocolate to drip off naturally.
Step 12: Final Chilling
Refrigerate for 10-15 minutes until the chocolate shell becomes completely solid and crisp.
Step 13: Store and Enjoy
Transfer the finished treats to an airtight container and store in the refrigerator. These little bites of heaven will stay fresh for up to one week, with flavors becoming even more delicious over time.
Tips To Get The Best Butterfinger Balls
Fun Mix-Ins For Butterfinger Balls
What Goes Well With Butterfinger Balls
How To Store Butterfinger Balls Properly
Butterfinger Balls Q&A
Yes, you can substitute Butterfinger with other crunchy candy bars like Crunch or Heath bars for a similar texture and flavor profile.
Place parchment paper between layers when storing in an airtight container to prevent the truffles from sticking to each other.
Refrigerating helps firm up the mixture, making it easier to roll into balls and maintain their shape during coating.
Yes, you can freeze the truffles for up to 2 months in an airtight container, allowing them to thaw in the refrigerator before serving.
Print
Toffee Butterfinger Balls Recipe
- Total Time: 55-65 minutes
- Yield: 24 1x
Description
Sweet chocolate-coated Butterfinger balls deliver irresistible peanut butter crunch with classic candy nostalgia. Rich morsels combine creamy texture and crunchy charm, promising delightful indulgence for dessert enthusiasts.
Ingredients
Main Ingredients:
- 1 cup cream cheese, softened
- 1 cup crushed butterfinger candy bars
- 1 cup powdered sugar
Coating Ingredients:
- 2 cups chocolate chips (milk or dark)
- 2 tbsp vegetable shortening
Binding/Flavor Ingredients:
- 1 tsp vanilla extract
- 1/4 tsp salt
Instructions
- Prepare a baking sheet with parchment paper, ensuring a smooth, flat surface for cooling the confections.
- In a spacious mixing bowl, whip the softened cream cheese until it achieves a smooth, creamy consistency.
- Gradually incorporate the powdered sugar and vanilla extract into the cream cheese, stirring meticulously until the mixture becomes uniform and free of lumps.
- Fold in the crushed Butterfinger candy bars, distributing the sweet, crunchy fragments evenly throughout the creamy base.
- Add a pinch of salt to enhance the overall flavor profile, mixing thoroughly to ensure complete integration.
- Refrigerate the mixture for 30 minutes, allowing it to firm up and become more manageable for shaping.
- Using clean hands, roll the chilled mixture into compact, bite-sized spheres, placing them on the prepared baking sheet.
- Return the formed balls to the refrigerator for an additional 15 minutes to maintain their shape.
- Melt the chocolate chips and vegetable shortening in a microwave-safe bowl, stirring every 30 seconds until completely smooth and glossy.
- Carefully dip each chilled ball into the melted chocolate, ensuring full coverage and using a fork to remove excess coating.
- Place the chocolate-coated balls back on the parchment-lined sheet, allowing excess chocolate to drip off.
- Refrigerate for 10-15 minutes or until the chocolate shell has completely hardened.
- Transfer to an airtight container and store in the refrigerator for up to one week, allowing the flavors to meld and intensify.
Notes
- Choose room temperature cream cheese for smoother blending and easier mixing without lumps.
- Crush Butterfinger bars finely to distribute crunchy texture evenly throughout the mixture.
- Use high-quality chocolate chips for better coating and richer flavor development.
- Experiment with alternative coatings like white chocolate or dark chocolate for variety in taste and appearance.
- Prep Time: 15 minutes
- Cook Time: 15-20 minutes
- Category: Snacks, Desserts
- Method: Rolling
- Cuisine: American
Nutrition
- Serving Size: 24
- Calories: 150
- Sugar: 12 g
- Sodium: 45 mg
- Fat: 8 g
- Saturated Fat: 5 g
- Unsaturated Fat: 3 g
- Trans Fat: 0 g
- Carbohydrates: 19 g
- Fiber: 0 g
- Protein: 2 g
- Cholesterol: 20 mg
Mia Thompson
Pastry Chef & Content Creator
Expertise
Education
Portland Community College – Baking and Pastry Arts Program
Specialized in artisanal bread, seasonal desserts, and sustainable baking methods.
National University of Natural Medicine – Bachelor of Science in Nutrition (BScN)
Focused on “Food as Medicine” philosophy, with core threads in nutrition.
Mia’s love affair with baking began in her grandmother’s kitchen, where sneaking spoonfuls of batter first sparked her curiosity. She refined her skills through Portland Community College’s Baking and Pastry Arts Program and her expertise at the National University of Natural Medicine, earning a B.Sc. in Nutrition.
At The Scrumptious Pumpkin, Mia reimagines classics with effortless seasonal treats, healthier twists on old favorites, and playful confections that feel like pure joy. Beyond the oven, she nurtures her urban garden, forages local ingredients around Portland, and leads hands‑on nutrition workshops for her community.