Adorable Valentine’s Day Cake Pops Recipe for Sweet Hearts
Sweet moments of romance sparkle with these delightful valentines day cake pops that capture love’s playful spirit.
Crafting these adorable treats becomes a delicious adventure in your kitchen.
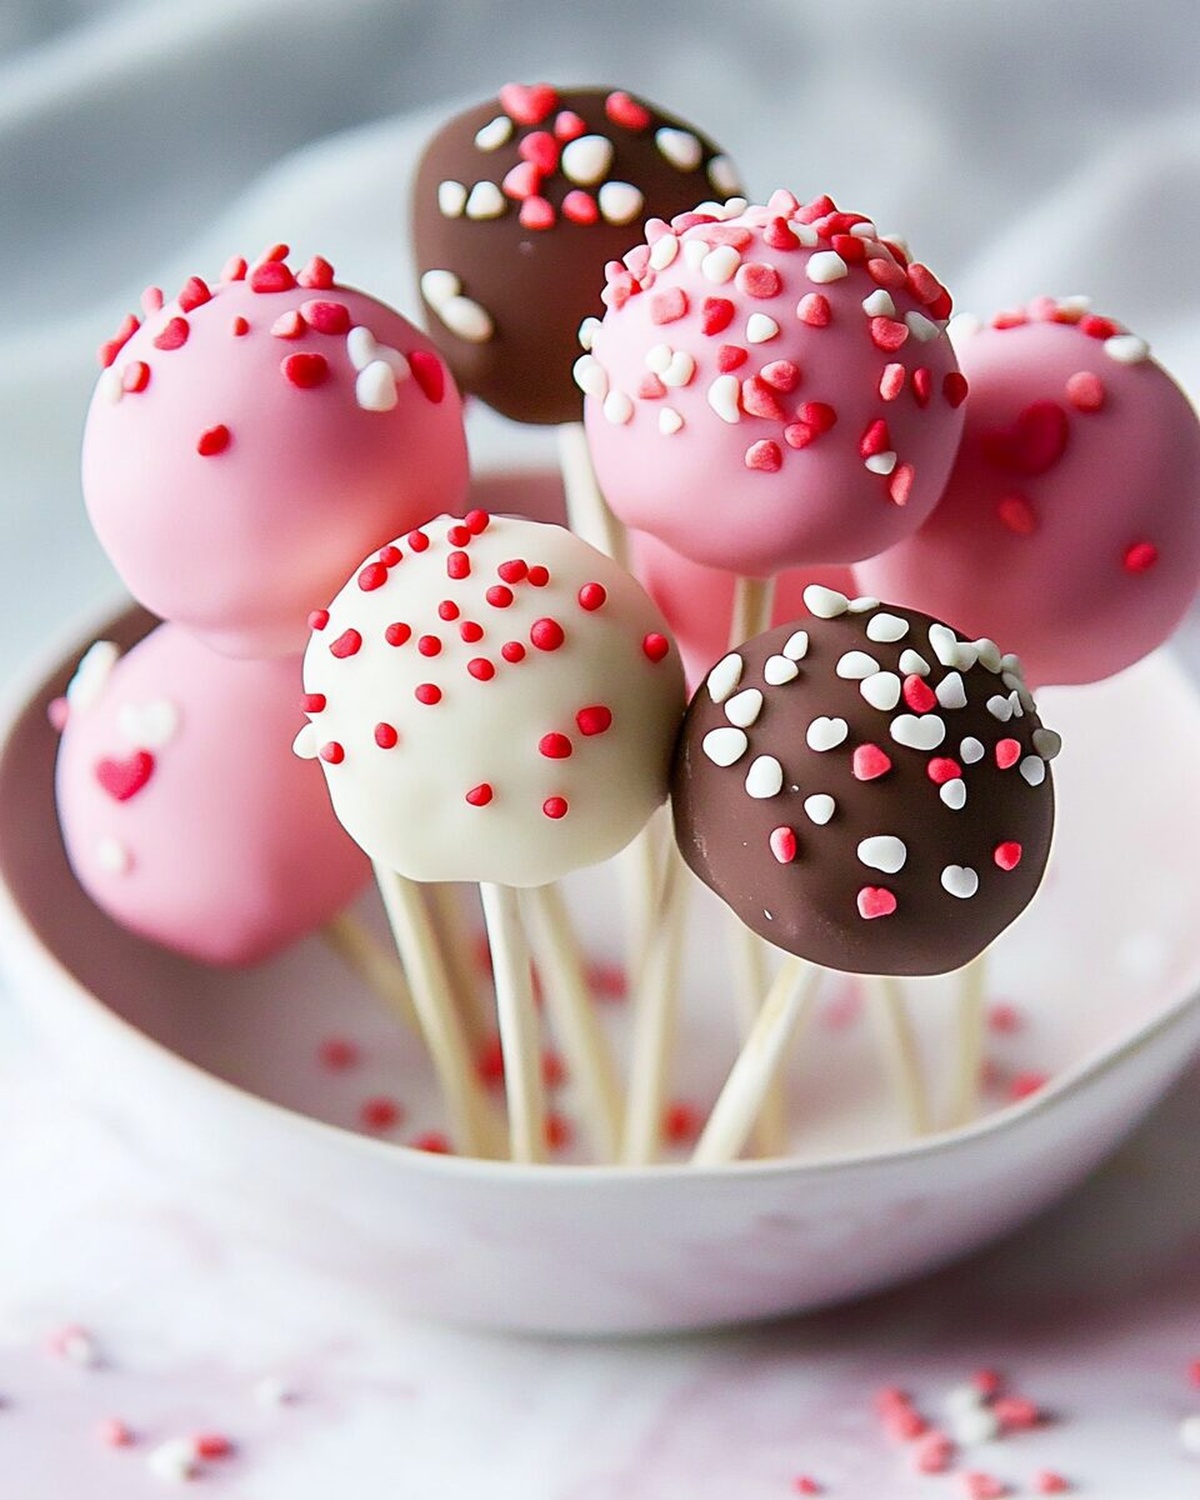
Tiny spheres of decadent cake coated in smooth chocolate create perfect bite-sized expressions of affection.
Delicate decorations like heart sprinkles or pink drizzles add whimsical charm to each morsel.
Couples and singles alike will adore these charming confections that celebrate connection through sugary creativity.
Your guests will be enchanted by these compact, colorful desserts that blend simplicity with romantic elegance.
Prepare to wow everyone with these irresistible little love bites that promise pure delight.
What Makes Valentines Day Cake Pops So Fun
What Goes Into Valentines Day Cake Pops
Cake Base:Binding and Flavor:Coating and Decoration:Additional Tools:Easy Directions For Valentines Day Cake Pops
Step 1: Whip Up the Cake Base
Grab your favorite cake mix and combine it with water, vegetable oil, and eggs in a spacious mixing bowl. Stir until the batter looks smooth and inviting.
Step 2: Bake to Perfection
Pour the batter into a greased 9×13-inch baking dish. Slide it into a preheated oven at 350°F (175°C).
Bake until a toothpick comes out clean, showing the cake is fully cooked.
Step 3: Crumble the Cake
Allow the cake to cool completely.
Gently break the cake into fine, delicate crumbs in a large mixing bowl.
Step 4: Create Cake Pop Mixture
Blend the cake crumbs with vanilla frosting until the mixture becomes a cohesive, moldable consistency.
Pop the mixture into the freezer for a quick 30-minute chill.
Step 5: Shape the Cake Balls
Use a cookie scoop to form small, uniform balls about the size of a ping pong.
Arrange these delightful spheres on a baking sheet and freeze for 20 minutes to firm up.
Step 6: Prepare Chocolate Coating
Melt candy melts in the microwave, working in short 30-second bursts.
Stir between each interval to ensure smooth, glossy chocolate.
Step 7: Insert Lollipop Sticks
Dip each lollipop stick into the melted chocolate, then carefully insert into the chilled cake balls.
Return to the freezer for 10 minutes to set.
Step 8: Coat and Decorate
Dunk each cake pop into the melted chocolate, twirling gently to create an even, luxurious coating.
Let excess chocolate drip away, then sprinkle with festive heart-shaped decorations.
Step 9: Set and Serve
Stand the cake pops upright in a styrofoam block or special cake pop holder.
Allow them to harden completely before serving these sweet Valentine’s treats.
Top Tips For Valentines Day Cake Pops
Valentines Day Cake Pops With A Twist
Perfect Pairings For Valentines Day Cake Pops
Keep Valentines Day Cake Pops Fresh
Common Questions On Valentines Day Cake Pops
You’ll need a cake mix, water, vegetable oil, eggs, vanilla frosting, candy melts, lollipop sticks, and heart sprinkles for decoration.
Yes, you can prepare the cake balls and freeze them in advance. They can be stored in the freezer for up to a week before final dipping and decorating.
Make sure to freeze the cake balls before dipping and ensure the candy melts are at the right temperature – not too hot or too cold. The frozen consistency helps them hold together.
Print
Valentines Day Cake Pops Recipe
- Total Time: 1 hour
- Yield: 12 1x
Description
Romantic heart-shaped cake pops deliver sweet passion for Valentine’s Day celebrations. Chocolatey bites dipped in smooth pink coating create delightful dessert moments you’ll savor with someone special.
Ingredients
Cake Base:
- 1 box vanilla cake mix (Betty Crocker)
Binding Ingredients:
- 1/3 cup vanilla frosting
Coating and Decoration:
- 1/2 bag (6 ounces / 170 grams) white candy melts
- 1/2 bag (6 ounces / 170 grams) pink candy melts
- Heart sprinkles
- Lollipop sticks
Instructions
- Preheat oven to 350°F and grease a 9×13-inch baking dish for cake preparation.
- Combine cake mix, water, vegetable oil, and eggs in a mixing bowl, blending until smooth and uniform.
- Pour batter into prepared baking dish and bake for approximately 25-30 minutes, checking doneness with a toothpick.
- Allow cake to cool completely at room temperature, then meticulously crumble into fine, even pieces in a large mixing bowl.
- Fold vanilla frosting into crumbled cake, creating a consistent, moldable mixture that holds together when pressed.
- Refrigerate the cake mixture for 30 minutes to firm up and make shaping easier.
- Using a cookie scoop, shape mixture into uniform balls approximately the size of ping pong balls, placing them on a parchment-lined baking sheet.
- Freeze cake balls for 20 minutes to ensure structural stability during coating process.
- Melt candy melts in microwave, stirring every 30 seconds to prevent burning and achieve smooth consistency.
- Dip lollipop stick tips into melted chocolate, then carefully insert into each cake ball, returning to freezer for 10 minutes.
- Submerge each cake pop into melted chocolate, gently twirling to create an even, complete coating.
- Allow excess chocolate to drip off, then immediately garnish with festive heart-shaped sprinkles.
- Stand cake pops upright in a styrofoam block or specialized holder to set and maintain shape.
- Let chocolate completely harden at room temperature before serving or packaging.
Notes
- Ensure cake is completely cool before crumbling to prevent moisture issues and maintain proper texture.
- Freeze cake balls briefly to help them stay firm during chocolate dipping, reducing crumbling and creating smoother coating.
- Use room temperature ingredients for consistent cake batter and easier mixing, which helps achieve uniform cake texture.
- Opt for gel food coloring when tinting candy melts to prevent chocolate from seizing and maintain smooth consistency.
- Prep Time: 30 minutes
- Cook Time: 30 minutes
- Category: Desserts, Snacks
- Method: Baking
- Cuisine: American
Nutrition
- Serving Size: 12
- Calories: 150
- Sugar: 10 g
- Sodium: 200 mg
- Fat: 7 g
- Saturated Fat: 3 g
- Unsaturated Fat: 4 g
- Trans Fat: 0 g
- Carbohydrates: 20 g
- Fiber: 0 g
- Protein: 1 g
- Cholesterol: 10 mg
Mia Thompson
Pastry Chef & Content Creator
Expertise
Education
Portland Community College – Baking and Pastry Arts Program
Specialized in artisanal bread, seasonal desserts, and sustainable baking methods.
National University of Natural Medicine – Bachelor of Science in Nutrition (BScN)
Focused on “Food as Medicine” philosophy, with core threads in nutrition.
Mia’s love affair with baking began in her grandmother’s kitchen, where sneaking spoonfuls of batter first sparked her curiosity. She refined her skills through Portland Community College’s Baking and Pastry Arts Program and her expertise at the National University of Natural Medicine, earning a B.Sc. in Nutrition.
At The Scrumptious Pumpkin, Mia reimagines classics with effortless seasonal treats, healthier twists on old favorites, and playful confections that feel like pure joy. Beyond the oven, she nurtures her urban garden, forages local ingredients around Portland, and leads hands‑on nutrition workshops for her community.