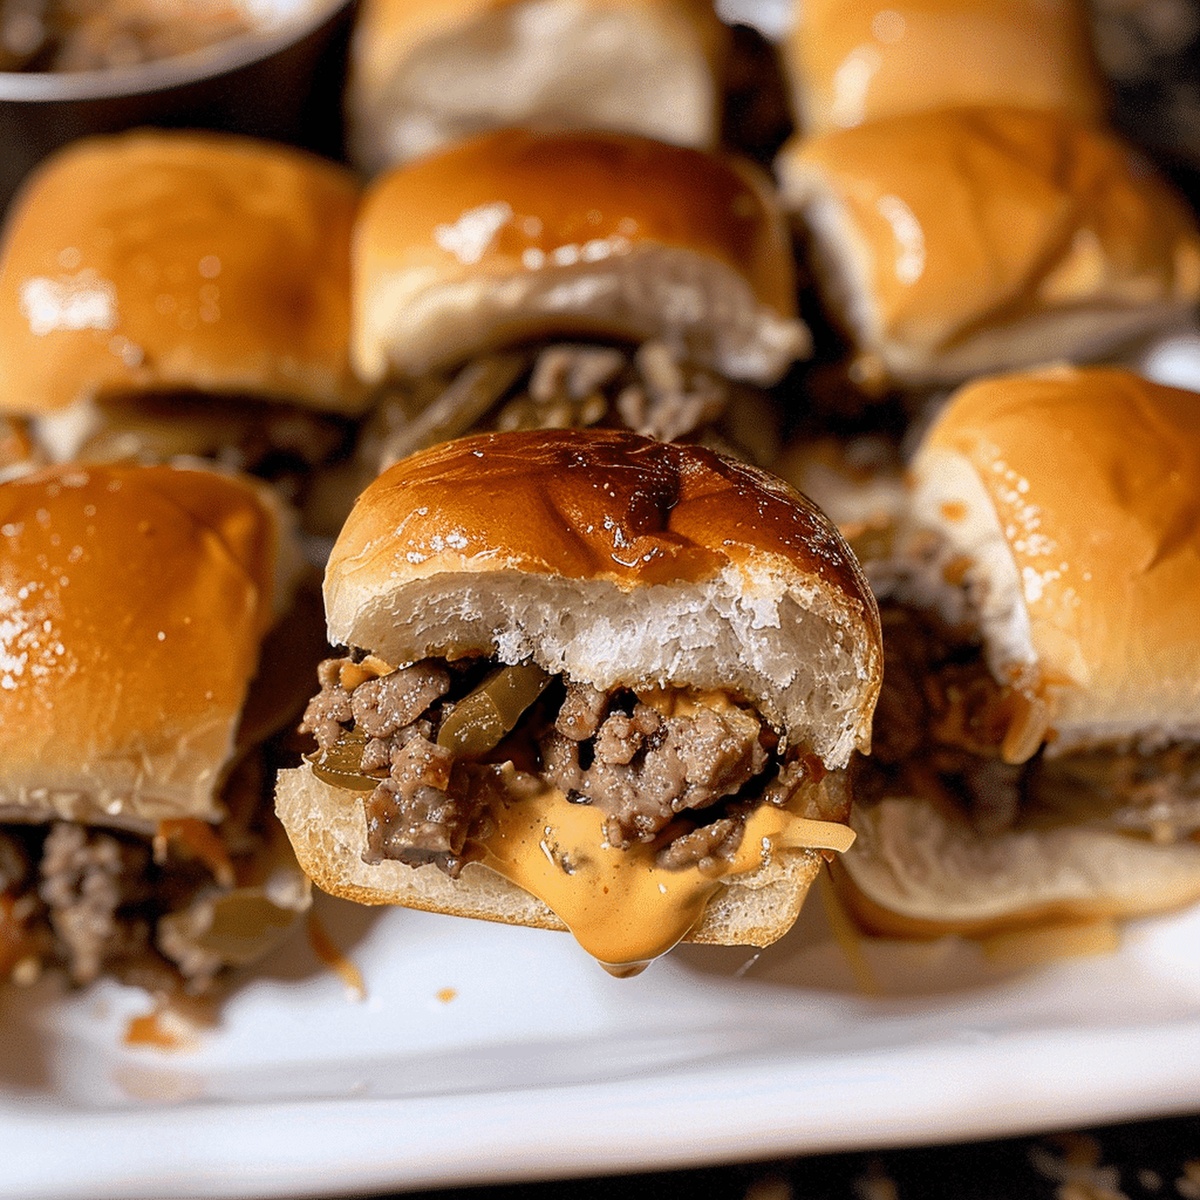
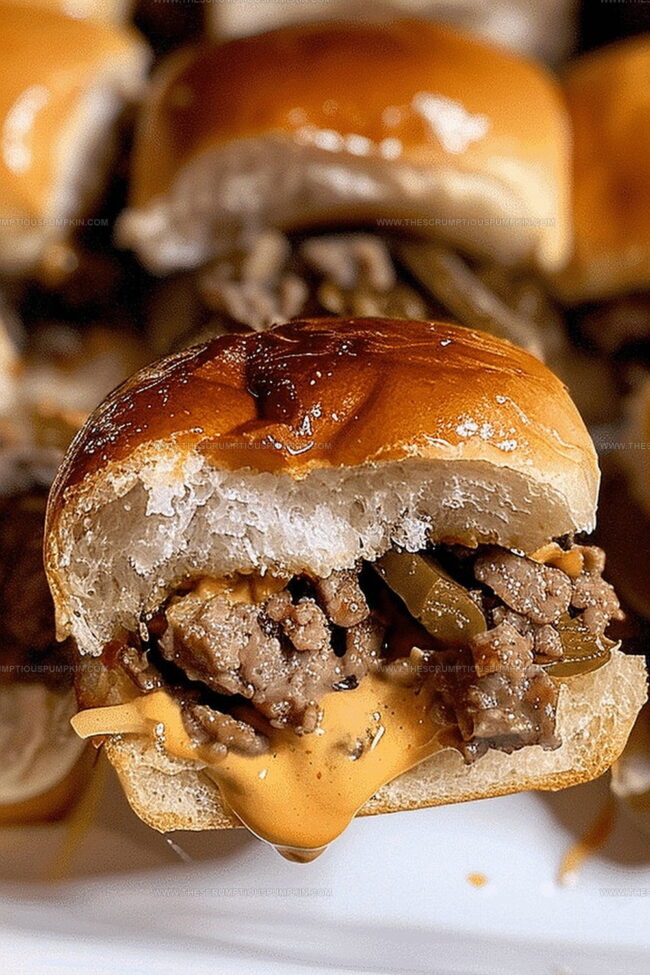
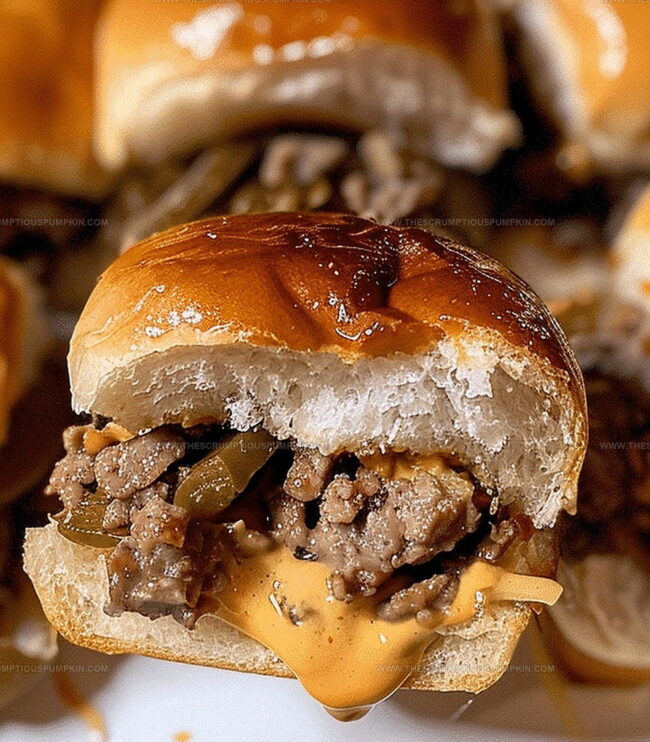
Easy White Trash Sliders Recipe: Tasty Little Bites You’ll Love
Crafting delectable white trash sliders brings unexpected culinary joy to any casual gathering.
Small sandwiches pack massive flavor into bite-sized portions.
Humble ingredients combine to create something remarkably satisfying.
Comfort food enthusiasts will appreciate the playful twist on traditional slider concepts.
Regional influences shine through these miniature handheld delights.
Each slider promises a perfect balance of savory elements and unpretentious charm.
You’ll want to make these crowd-pleasing morsels again and again.
White Trash Sliders That Are Fun to Eat
Ingredients for White Trash Sliders
Main Protein:Bread Base:Flavor Enhancers:Seasoning:How to Make White Trash Sliders

Step 1: Fire Up the Oven
Crank your oven to a toasty 350 degrees Fahrenheit.
This temperature will transform your little sandwiches into melty, delicious bites of happiness.
Step 2: Brown the Beef
Grab a skillet and cook the ground beef over medium heat.
Keep stirring and breaking up the meat until it turns a beautiful golden brown.
No pink allowed!
Step 3: Season Like a Pro
Sprinkle salt and pepper over the beef.
Don’t be shy – give it a good seasoning that makes your taste buds dance.
Step 4: Build Your Slider Base
Take your slider bun bottoms and line them up on a baking sheet like little soldiers ready for deliciousness.
Step 5: Layer the Flavor Bombs
Start loading up those bun bottoms with your awesome ingredients:Step 6: Sauce It Up
Drizzle some classic condiments over your layers:Step 7: Crown Your Sliders
Place the top bun halves onto your loaded slider bases, creating perfect little sandwich packages.
Step 8: Melt and Transform
Slide the baking sheet into the preheated oven.
Let them bake for about 10 minutes until the cheese gets all gooey and melted.
Step 9: Serve and Devour
Pull out your hot, melty sliders and serve them immediately.
Watch everyone grab these irresistible mini sandwiches!
Pro Tips for White Trash Sliders
Variations on White Trash Sliders
Serving Suggestions for White Trash Sliders
Storage Advice for White Trash Sliders
FAQs
Ground beef, slider buns, cheese slices, pickles, ketchup, mustard, salt, and pepper are the main ingredients you’ll need.
Yes, you can swap out cheese slices with cheddar, American, or provolone based on your preference.
These sliders are best served immediately after baking, but you can prepare the beef and assemble the sliders ahead of time, then bake just before serving.
Add some minced garlic or onion powder to the ground beef while cooking to enhance the overall taste of the sliders.
Print
White Trash Sliders Recipe
- Total Time: 25 minutes
- Yield: 4 1x
Description
Southern white trash sliders blend classic comfort with irresistible flavor, combining miniature sandwiches packed with savory ingredients. Hungry guests will devour these crowd-pleasing appetizers that showcase regional culinary creativity.
Ingredients
Main Proteins:
- 1 pound ground beef
Bread:
- 12 slider buns
Toppings and Seasonings:
- 12 American cheese slices
- 12 pickle slices
- 1/2 medium onion, diced
- 2 tablespoons ketchup
- 1 tablespoon mustard
- 1/2 teaspoon salt
- 1/4 teaspoon black pepper
Instructions
- Preheat oven to 350°F (175°C), ensuring a consistent temperature for optimal cooking.
- Heat a skillet over medium flame and thoroughly cook ground beef until it reaches a rich, golden-brown color.
- Season the beef with salt and pepper, distributing the seasoning evenly throughout the meat.
- Arrange slider bun bottoms on a clean baking sheet, creating a stable foundation for assembly.
- Create a layered stack by first placing the cooked beef directly onto the bun bottoms.
- Add cheese slices over the beef, ensuring complete coverage for maximum melting potential.
- Strategically position pickle slices across the cheese layer for a tangy flavor accent.
- Drizzle ketchup and mustard evenly over the pickles, distributing condiments for balanced taste.
- Carefully place slider bun tops over the assembled ingredients, creating compact mini sandwiches.
- Transfer the baking sheet to the preheated oven and bake for 10 minutes until cheese becomes fully melted and bubbly.
- Remove from oven and allow sliders to rest for 1-2 minutes before serving to enhance flavor and texture.
- Serve immediately while warm to enjoy the optimal taste and melted cheese experience.
Notes
- Choose lean ground beef to reduce excess grease and create a healthier slider version.
- Experiment with different cheese types like pepper jack or sharp cheddar for varied flavor profiles.
- Customize sliders for dietary needs by using turkey meat, plant-based patties, or gluten-free buns for alternative options.
- Prep sliders ahead of time and refrigerate before baking for convenient meal planning and faster dinner preparation.
- Prep Time: 15 minutes
- Cook Time: 10 minutes
- Category: Lunch, Dinner, Appetizer, Snacks
- Method: Baking
- Cuisine: American
Nutrition
- Serving Size: 4
- Calories: 350 kcal
- Sugar: 4 g
- Sodium: 600 mg
- Fat: 20 g
- Saturated Fat: 8 g
- Unsaturated Fat: 10 g
- Trans Fat: 1 g
- Carbohydrates: 25 g
- Fiber: 2 g
- Protein: 18 g
- Cholesterol: 50 mg
Mia Thompson
Pastry Chef & Content Creator
Expertise
Education
Portland Community College – Baking and Pastry Arts Program
Specialized in artisanal bread, seasonal desserts, and sustainable baking methods.
National University of Natural Medicine – Bachelor of Science in Nutrition (BScN)
Focused on “Food as Medicine” philosophy, with core threads in nutrition.
Mia’s love affair with baking began in her grandmother’s kitchen, where sneaking spoonfuls of batter first sparked her curiosity. She refined her skills through Portland Community College’s Baking and Pastry Arts Program and her expertise at the National University of Natural Medicine, earning a B.Sc. in Nutrition.
At The Scrumptious Pumpkin, Mia reimagines classics with effortless seasonal treats, healthier twists on old favorites, and playful confections that feel like pure joy. Beyond the oven, she nurtures her urban garden, forages local ingredients around Portland, and leads hands‑on nutrition workshops for her community.